Adding a new site in Scout
A video guide on setting up hosting for a new site using Scout
Adding a new site in Scout
Quick Start
- Log in to cloudabove
- Select Scout Control Panel from the menu
- Click “Add a site” (top right corner)
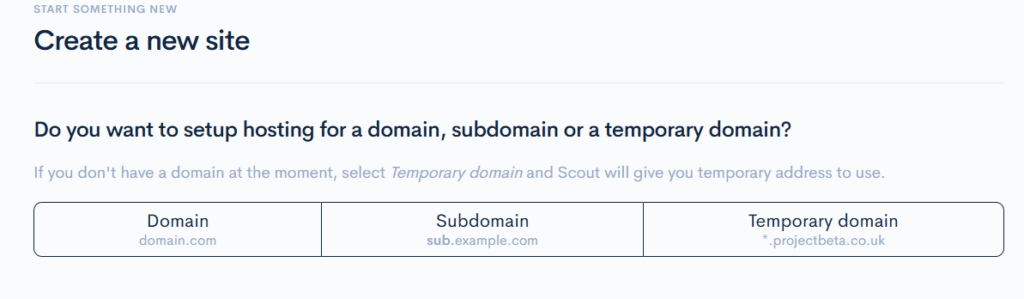
Step 1: Choose Your Domain Type
You have three options:
| Option | When to Use | Example |
| Domain | You have a registered domain name | exampledomain.com |
| Subdomain | Site will be on a subdomain | shop.exampledomain.com |
| Temporary domain | Don’t have a domain yet or want to skip DNS setup | Auto-generated by Scout |
Step 2: Enter Your Domain
Type your domain name in the input field.
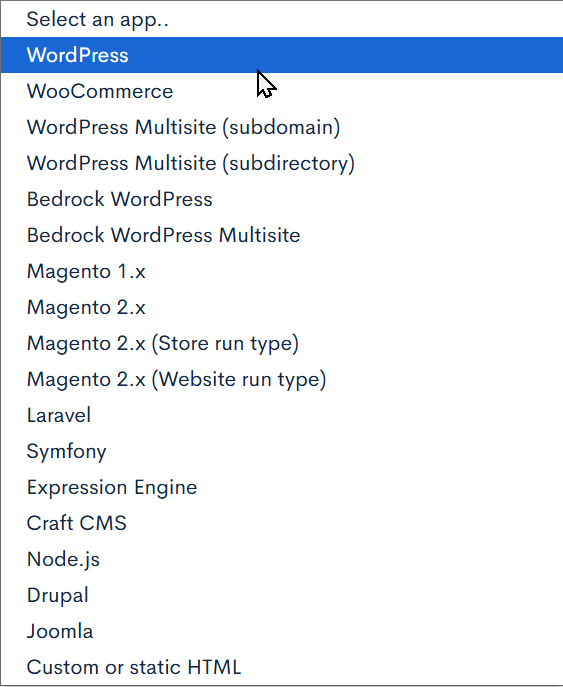
Step 3: Select Your Web Application
- Click the “Select an app” dropdown
- Choose your application (e.g., WordPress, Laravel, etc.)
- Toggle “Yes please” if you want Scout to install a fresh copy
Step 4: Add a Project Nickname
Enter a short name (lowercase letters/numbers only) — this becomes your FTP/SSH username e.g., “myshop” or “blog2024”
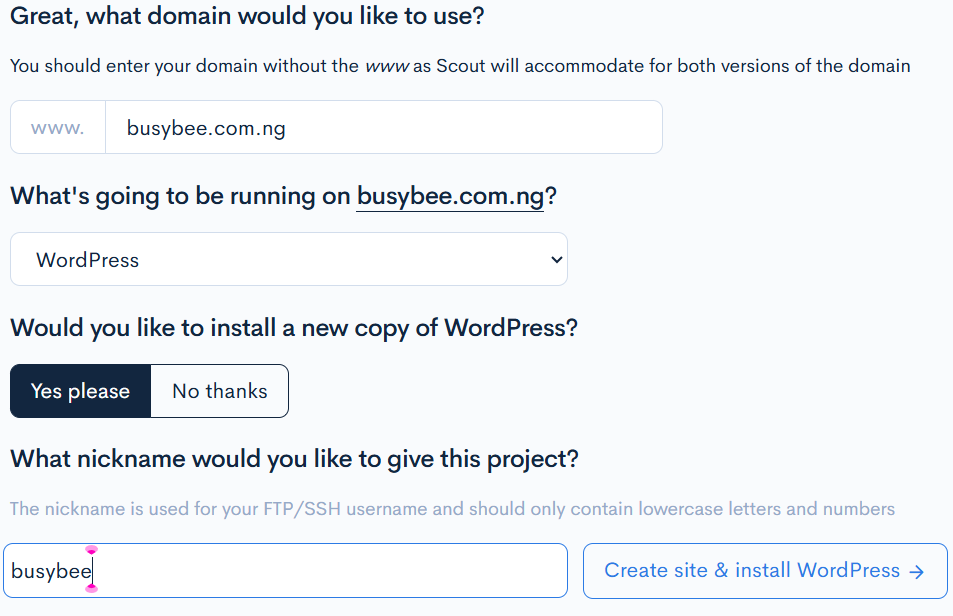
Step 6: Create Site
Click “Create site” and you’re done!
What Happens Next?
Your hosting area is now set up! You’ll see a page with:
- SFTP/SSH connection details
- Usernames and passwords
- Other important credentials
💾 Save these details or don’t worry—you can reset them anytime through Scout.
If you have any questions then our team will be happy to help, so feel free to get in touch.