SSH Keys
SSH (Secure Shell) keys provide a secure way to access your server’s terminal without using passwords. Instead of typing a password each time, you authenticate with a cryptographic key pair. This improves security and convenience, especially for developers and administrators managing hosting environments.
This guide explains:
- What SSH keys are
- How to generate SSH keys on different operating systems
- How to add them to cPanel and Plesk servers for terminal access
What Are SSH Keys?
- SSH Key Pair: Consists of a public key (shared with the server) and a private key (kept secret on your computer).
- Authentication: When you connect via SSH, the server checks if your private key matches the stored public key.
- Security Advantage: Stronger than passwords, resistant to brute-force attacks, and can be encrypted with a passphrase.
Step 1: Generate SSH Keys
On Linux/macOS (OpenSSH)
- Open a terminal.
- Run:
ssh-keygen -t rsa -b 4096 -C "your_email@example.com"OR justssh-keygen
- Press Enter to accept the default location (
~/.ssh/id_rsa). - Optionally set a passphrase for extra security.
- Keys generated:
- Private key:
~/.ssh/id_rsa - Public key:
~/.ssh/id_rsa.pub
- Private key:

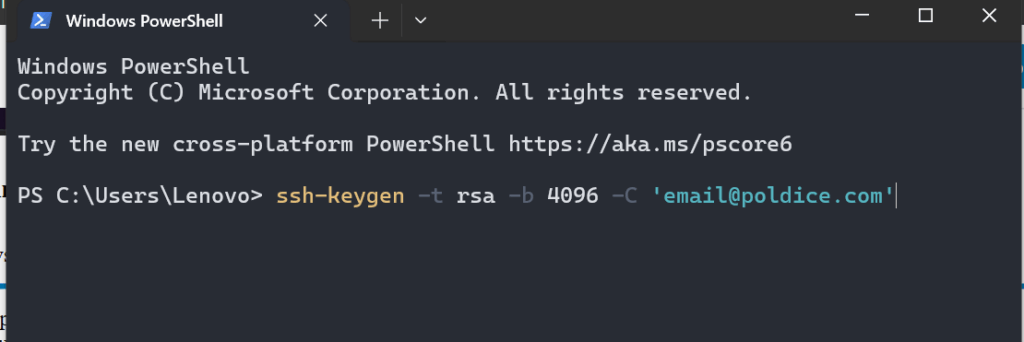
On Windows (PowerShell)
Windows 10 and later include OpenSSH Client by default, so you can generate keys directly in PowerShell:
- Open PowerShell as Administrator.
- Run the following command:
ssh-keygen -t rsa -b 4096 -C "your_email@example.com" - When prompted for a file location, press Enter to accept the default (
C:\Users\<YourUser>\.ssh\id_rsa). - Optionally set a passphrase for extra protection.
- Keys generated:
- Private key:
C:\Users\<YourUser>\.ssh\id_rsa - Public key:
C:\Users\<YourUser>\.ssh\id_rsa.pub
- Private key:
- To view your public key, run:
Get-Content $env:USERPROFILE\.ssh\id_rsa.pubCopy this output — you’ll paste it into cPanel or Plesk.
On Windows (using PuTTYgen)
- Download and open PuTTYgen.
- Click Generate and move your mouse around to create randomness.
- Save the generated keys:
- Private key:
.ppkfile - Public key: copy from the PuTTYgen window
- Private key:
- Optionally, set a passphrase for added protection.
Step 2: Add SSH Public Key in cPanel
- Log in to cPanel.
- Navigate to Security → SSH Access.
- Click Manage SSH Keys.
- Choose Import Key (to upload the public key).
- Enter a name for your key.
- Paste your public key (
id_rsa.pub) into the provided field. - Leave the private key field blank.
- Click Import.
- Go back to Manage SSH Keys, locate your key
- Authorize the key by clicking Manage Authorization.
Once authorized, you can connect via terminal: ssh -p22 user@yourserverIPaddress
Step 3: Adding SSH Key in Plesk for authentication
- Log in to Plesk.
- Go to Websites & Domains.
- On the right-hand side, click SSH Keys.
- In the SSH Keys Manager, click Add Key.
- Paste your public key (
id_rsa.pub) into the field. - Click Add.
- Note your system user and server IP address from the subscription details.
- Connect via SSH using:
ssh systemuser@server-ip
Best Practices
- Keep your private key secure: Never share it.
- Use strong algorithms: Prefer
ed25519orrsa -b 4096. - Restrict access: Ensure only authorized users can access your
.sshdirectory.- Use strong permissions on your
.sshdirectory (chmod 700 ~/.ssh).
- Use strong permissions on your
- Remove unused or old keys from cPanel/Plesk to reduce risk.
By generating SSH keys locally and adding the public key to cPanel or Plesk, you can securely access your server’s terminal without passwords. This method improves security and streamlines workflows for developers and administrators.
Got stuck?
Open a ticket in the customer portal or email cloudabove.com/contact-us for further help